CodeIgniter4 Bonfire2を試す
この記事は CodeIgniter Advent Calendar 2022 - Qiita の8日目です。まだ、空きがありますので、興味のある方は気軽に参加してください。
CodeIgniter4 のアプリケーションスケルトンである Bonfire2 を使ってみます。 Bonfire2 は現在ベータリリースです。
動作確認環境
- CodeIgniter 4.2.10
- Bonfire2 dev-develop d1fb7a0
- PHP 8.1.13
- MySQL 5.7
- macOS 10.15.7
Bonfire2 とは?
Bonfire2 は、CodeIgniter4ベースのアプリケーションのための堅牢なアプリケーションスケルトンです。
Bonfireは、クライアントのためによりよいソフトウェアをより速く作ることを支援するために、多くの有用なライブラリを提供し、アプリケーションにとって重要な新しい部分に集中することを可能にします。
現在、以下の機能が含まれています。
- テーマ/テンプレートシステム:柔軟なAuthテーマとAdminテーマを同梱
- 再利用可能なHTMLスニペットを作成し、UIの複雑さを軽減するビューコンポーネント(オプションでコードによる制御が可能)
- 設定ファイルの値をデータベースに保存し、データベース内またはファイル内にある値にアクセスできるSettingsライブラリ
- リソースフィルタシステムは、ユーザー、投稿などのリストをフィルタリングするために、簡単な実装と快適で一貫したUIを提供
- 強力でカスタマイズ可能なユーザー認証/認可システムShield
- モジュールに簡単に統合できるグローバル検索機能
- モジュールに簡単に統合できる、論理削除モデルの復元/消去を処理するためのごみ箱
- GDPRルールに対応したCookieの同意管理方法
- サイトオフラインステータス
- オンラインログビューワ/マネージャー
インストール
CodeIgniter4のインストール
ComposerでCodeIgniterプロジェクトを作成します。
$ composer create-project codeigniter4/appstarter ci4-bonfire2-test
Bonfire2のインストール
Composerの minimum-stability の設定を変更します。
--- a/composer.json
+++ b/composer.json
@@ -33,5 +33,7 @@
         "forum": "http://forum.codeigniter.com/",
         "source": "https://github.com/codeigniter4/CodeIgniter4",
         "slack": "https://codeigniterchat.slack.com"
-    }
+    },
+    "minimum-stability": "dev",
+    "prefer-stable": true
 }
ComposerでBonfire2の最新開発版をインストールします。
$ cd ci4-bonfire2-test/
$ composer require lonnieezell/bonfire:dev-develop
データベースの作成
専用のデータベース bonfire2 を作成しておきます。
CREATE DATABASE `bonfire2` DEFAULT CHARACTER SET utf8mb4;
CREATE USER dbuser@localhost IDENTIFIED WITH mysql_native_password BY 'dbpasswd';
GRANT ALL PRIVILEGES ON bonfire2.* TO dbuser@localhost;
設定
CodeIgniter4の設定
以下のように設定を日本仕様などに変更しておきます。
--- a/app/Config/App.php
+++ b/app/Config/App.php
@@ -37,7 +37,7 @@ class App extends BaseConfig
      *
      * @var string
      */
-    public $indexPage = 'index.php';
+    public $indexPage = '';

     /**
      * --------------------------------------------------------------------------
@@ -70,7 +70,7 @@ class App extends BaseConfig
      *
      * @var string
      */
-    public $defaultLocale = 'en';
+    public $defaultLocale = 'ja';

     /**
      * --------------------------------------------------------------------------
@@ -97,7 +97,7 @@ class App extends BaseConfig
      *
      * @var string[]
      */
-    public $supportedLocales = ['en'];
+    public $supportedLocales = ['en', 'ja'];

     /**
      * --------------------------------------------------------------------------
@@ -109,7 +109,7 @@ class App extends BaseConfig
      *
      * @var string
      */
-    public $appTimezone = 'America/Chicago';
+    public $appTimezone = 'Asia/Tokyo';

     /**
      * --------------------------------------------------------------------------
Bonfire2はCodeIgniter Shieldを使っているので、CSRFの設定を変更します。
--- a/app/Config/Security.php
+++ b/app/Config/Security.php
@@ -15,7 +15,7 @@ class Security extends BaseConfig
      *
      * @var string 'cookie' or 'session'
      */
-    public $csrfProtection = 'cookie';
+    public $csrfProtection = 'session';

     /**
      * --------------------------------------------------------------------------
Bonfire2のセットアップ
セットアップコマンドを実行します。
$ php spark bf:install
CodeIgniter v4.2.10 Command Line Tool - Server Time: 2022-12-06 16:25:48 UTC+09:00

Creating .env file...Done
Setting initial environment

What URL are you running Bonfire under locally? : http://localhost:8080/

Generating encryption key
Encryption key saved to .env file

Database host:  [localhost]:
Database name:  [bonfire]: bonfire2
Database username:  [root]: dbuser
Database password:  [root]: dbpasswd
Database driver: [MySQLi, Postgre, SQLite3, SQLSRV]:
Table prefix: :

Publishing config files
  Created: APPPATH/Config/Assets.php
  Created: APPPATH/Config/Auth.php
  Created: APPPATH/Config/AuthGroups.php
  Created: APPPATH/Config/Bonfire.php
  Created: APPPATH/Config/Site.php
  Created: APPPATH/Config/Themes.php
  Created: APPPATH/Config/Consent.php
  Created: APPPATH/Config/Dashboard.php
  Created: APPPATH/Config/Recycler.php
  Created: APPPATH/Config/Users.php

If you need to create your database, you may run:
    php spark db:create <database name>

To migrate and create the initial user, please run:
    php spark bf:install --continue
データベース接続情報を聞かれますので、入力します。
完了すると、.envファイルが作成され、設定ファイルとテーマファイルがインストールされました。
セットアップを続けます。
$ php spark bf:install --continue
CodeIgniter v4.2.10 Command Line Tool - Server Time: 2022-12-06 16:28:10 UTC+09:00

Running all new migrations...
    Running: (CodeIgniter\Shield) 2020-12-28-223112_CodeIgniter\Shield\Database\Migrations\CreateAuthTables
    Running: (CodeIgniter\Settings) 2021-07-04-041948_CodeIgniter\Settings\Database\Migrations\CreateSettingsTable
    Running: (Bonfire\{Users}) 2021-09-04-044800_App\Database\Migrations\AdditionalUserFields
    Running: (Bonfire\{Users}) 2021-10-05-040656_App\Database\Migrations\CreateMetaTable
    Running: (CodeIgniter\Settings) 2021-11-14-143905_CodeIgniter\Settings\Database\Migrations\AddContextColumn
Migrations complete.

Create initial user
Email? : admin@example.jp
First name? : Admin
Last name? : User
Username? : admin
Password? : passw0rd!
Done. You can now login as a superadmin.
マイグレーションが実行され、初期ユーザーの情報を入力すると、superadmin のユーザーが作成されました。
以下のテーブルが作成されています。
$ php spark db:table --metadata

CodeIgniter v4.2.10 Command Line Tool - Server Time: 2022-12-06 16:30:03 UTC+09:00

Here is the list of your database tables:
  [0]  auth_groups_users
  [1]  auth_identities
  [2]  auth_logins
  [3]  auth_permissions_users
  [4]  auth_remember_tokens
  [5]  auth_token_logins
  [6]  meta_info
  [7]  migrations
  [8]  settings
  [9]  users
migrations は CodeIgniter4 のデータベースマイグレーション用、settings は codeigniter4/settings 用、auth_* と users は codeigniter4/shield 用のテーブルです。
Webサーバーの起動
開発用にWebサーバーを起動します。
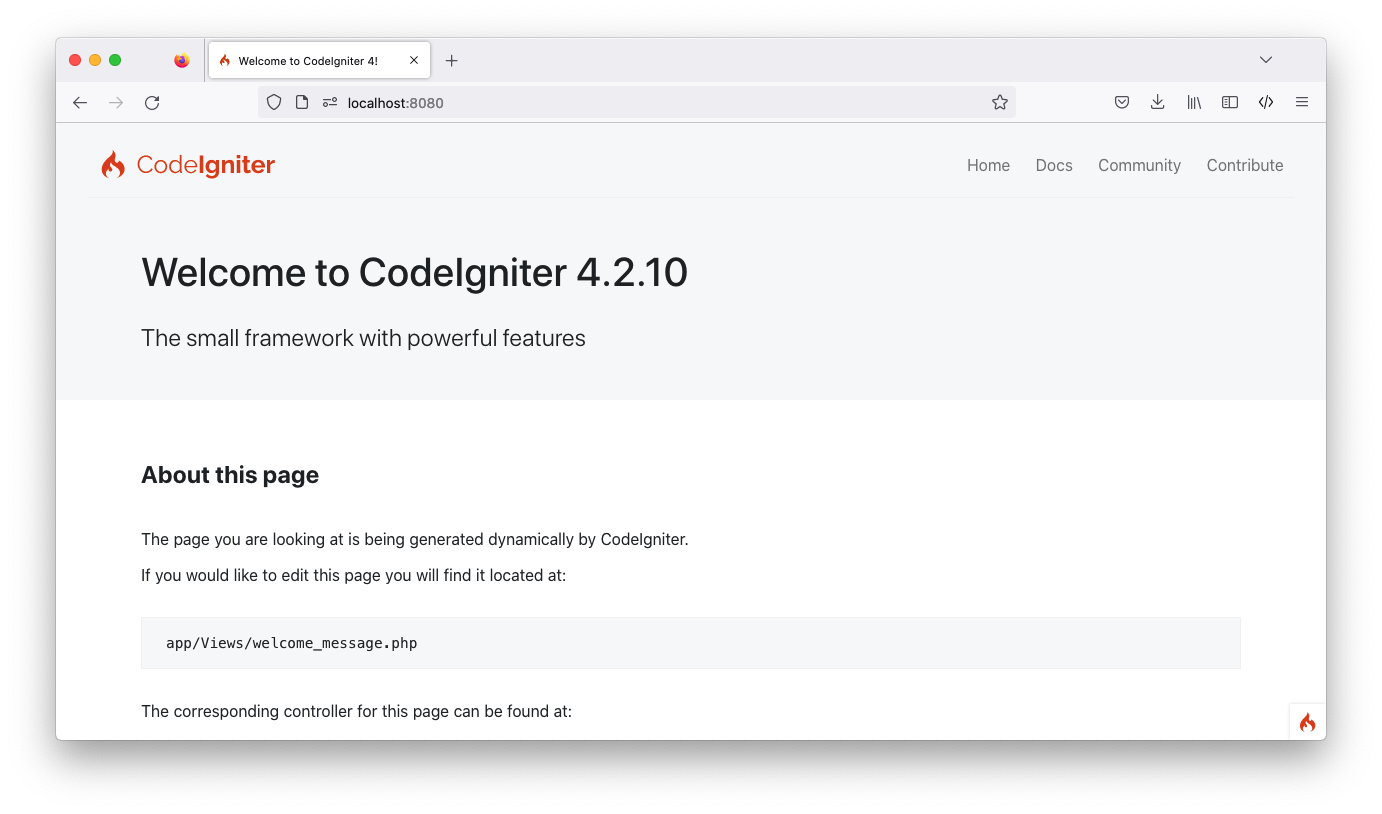
$ php spark serve
管理者ログイン
ログインページ
http://localhost:8080/admin にブラウザでアクセスします。
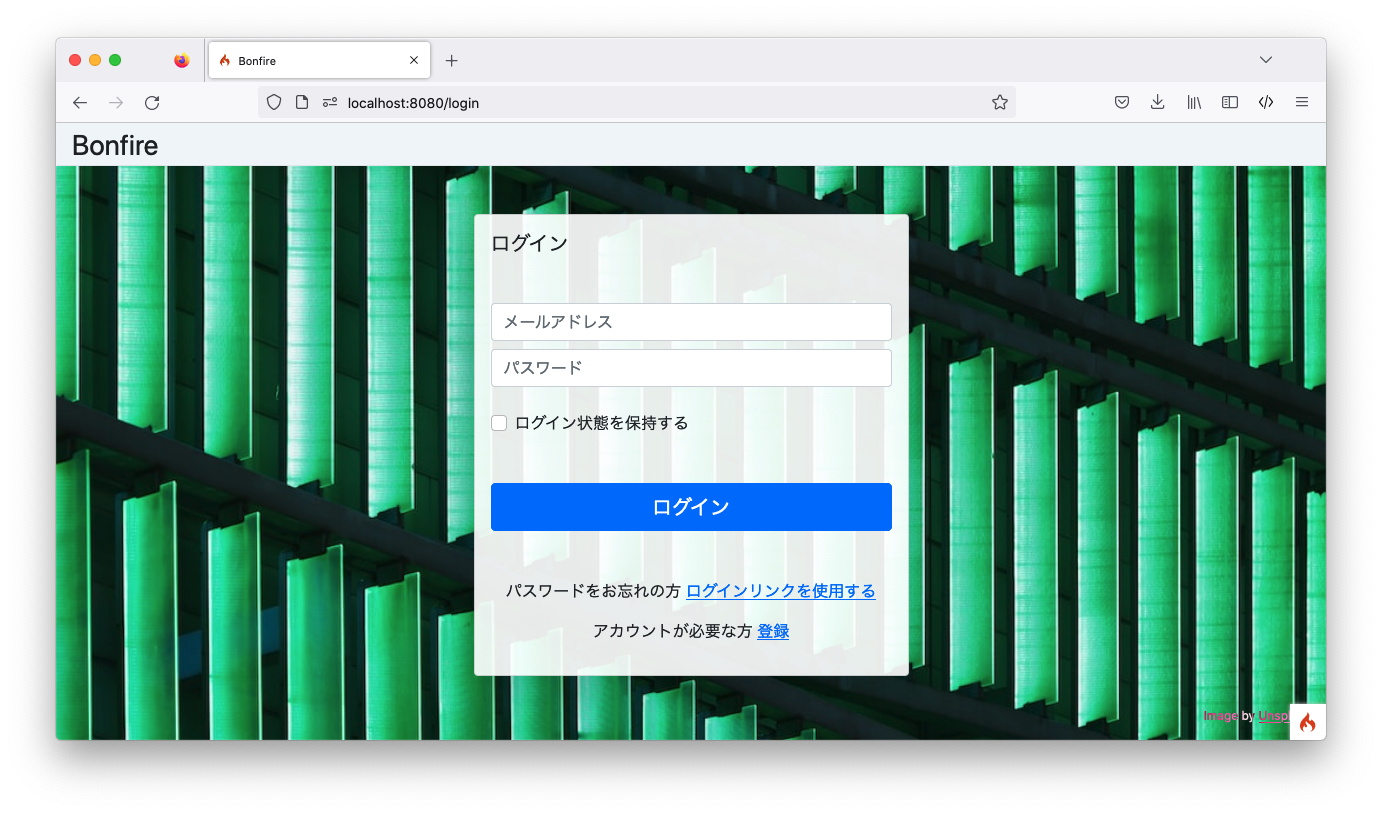
http://localhost:8080/login にリダイレクトされました。
先ほど作成したユーザーでログインします。
    メール:admin@example.jp
パスワード:passw0rd!
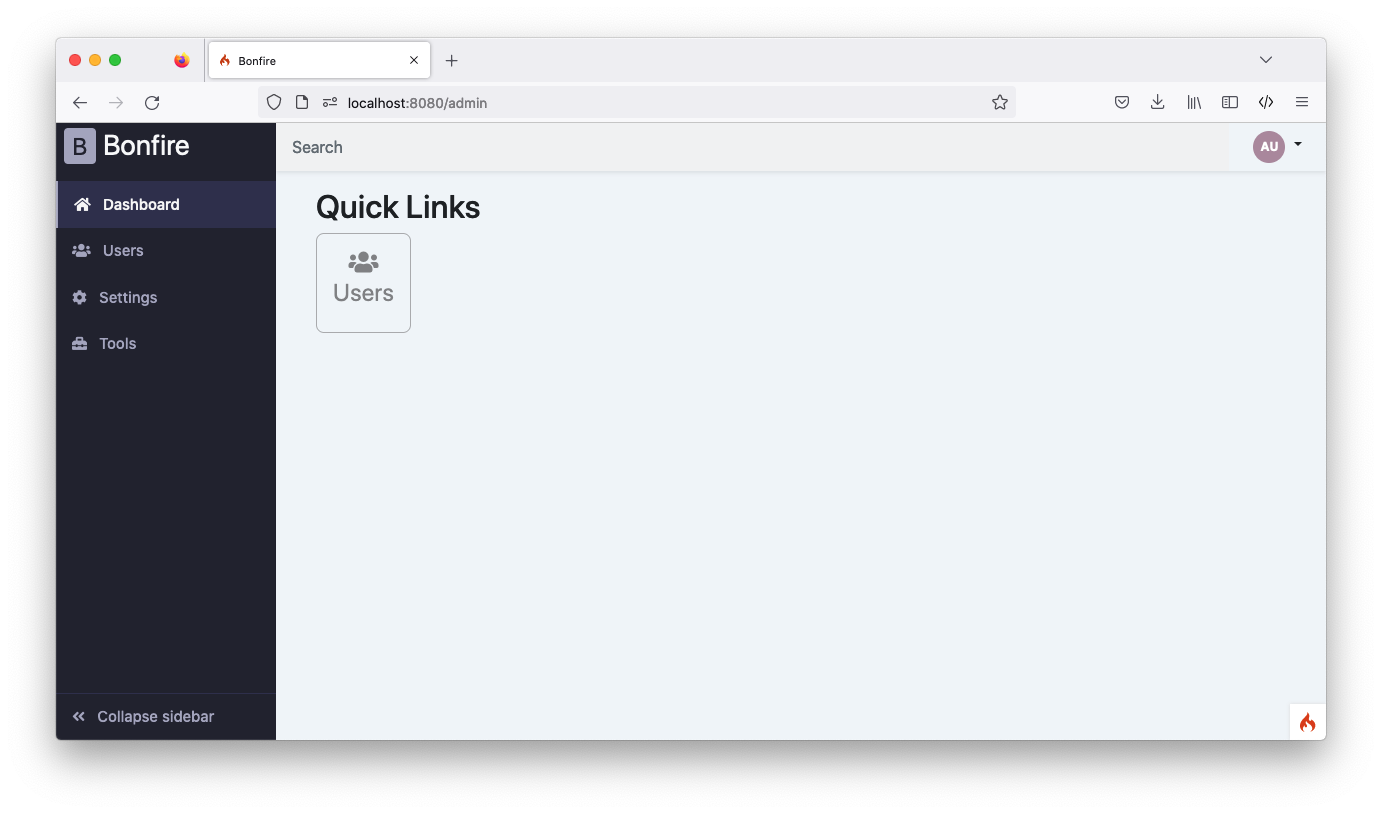
ログインが成功すると、ダッシュボードにリダイレクトされます。
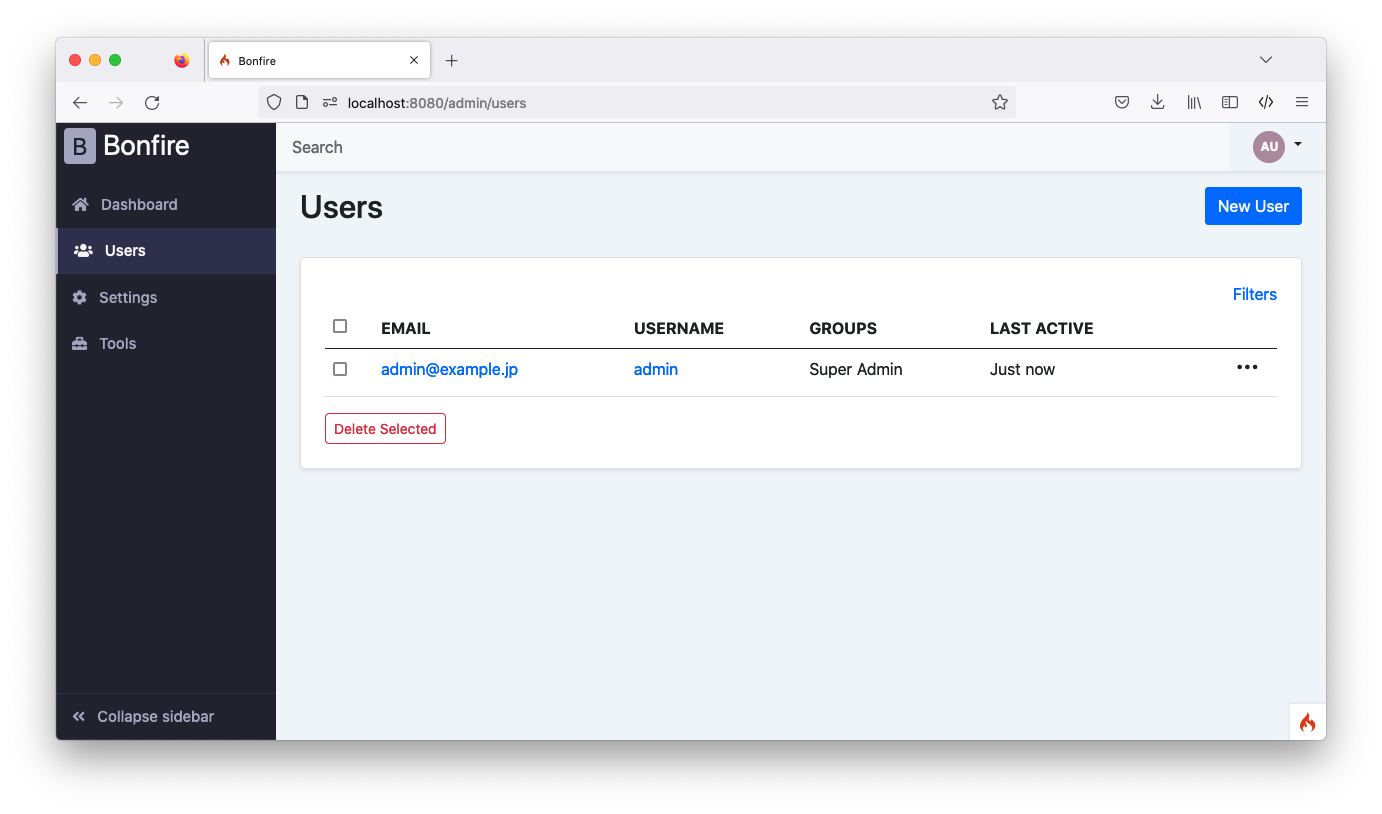
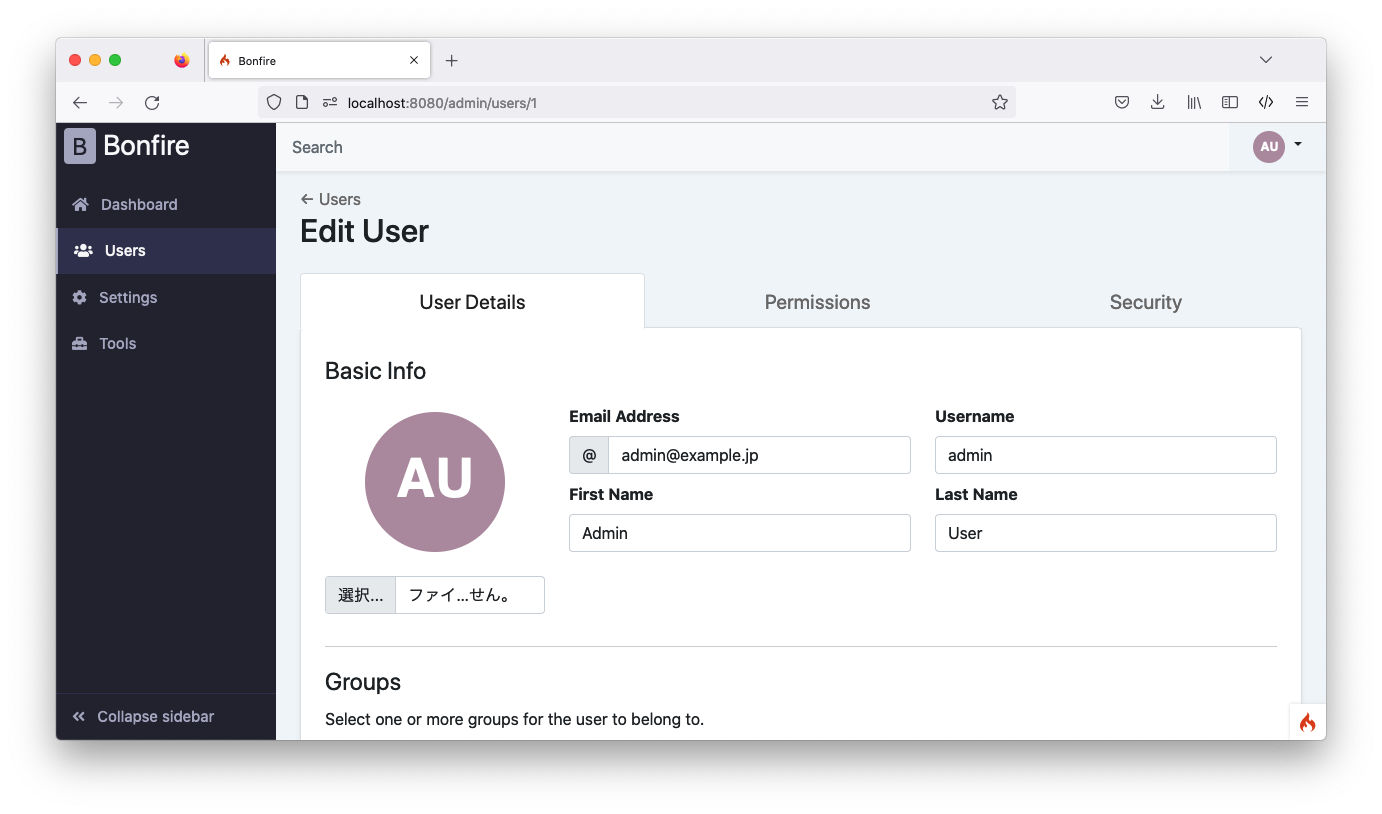
ユーザーの一覧。
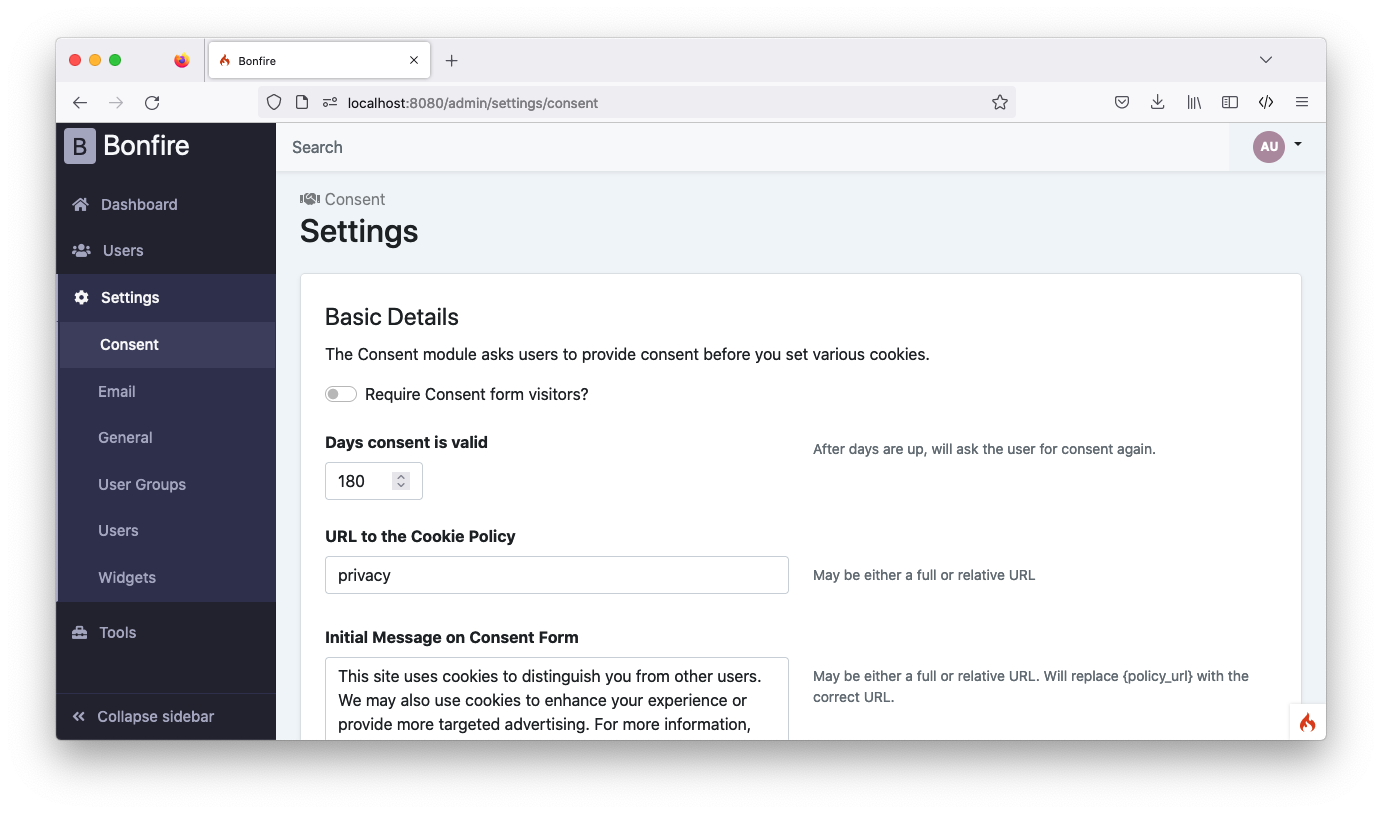
Cookie同意モジュールの設定。
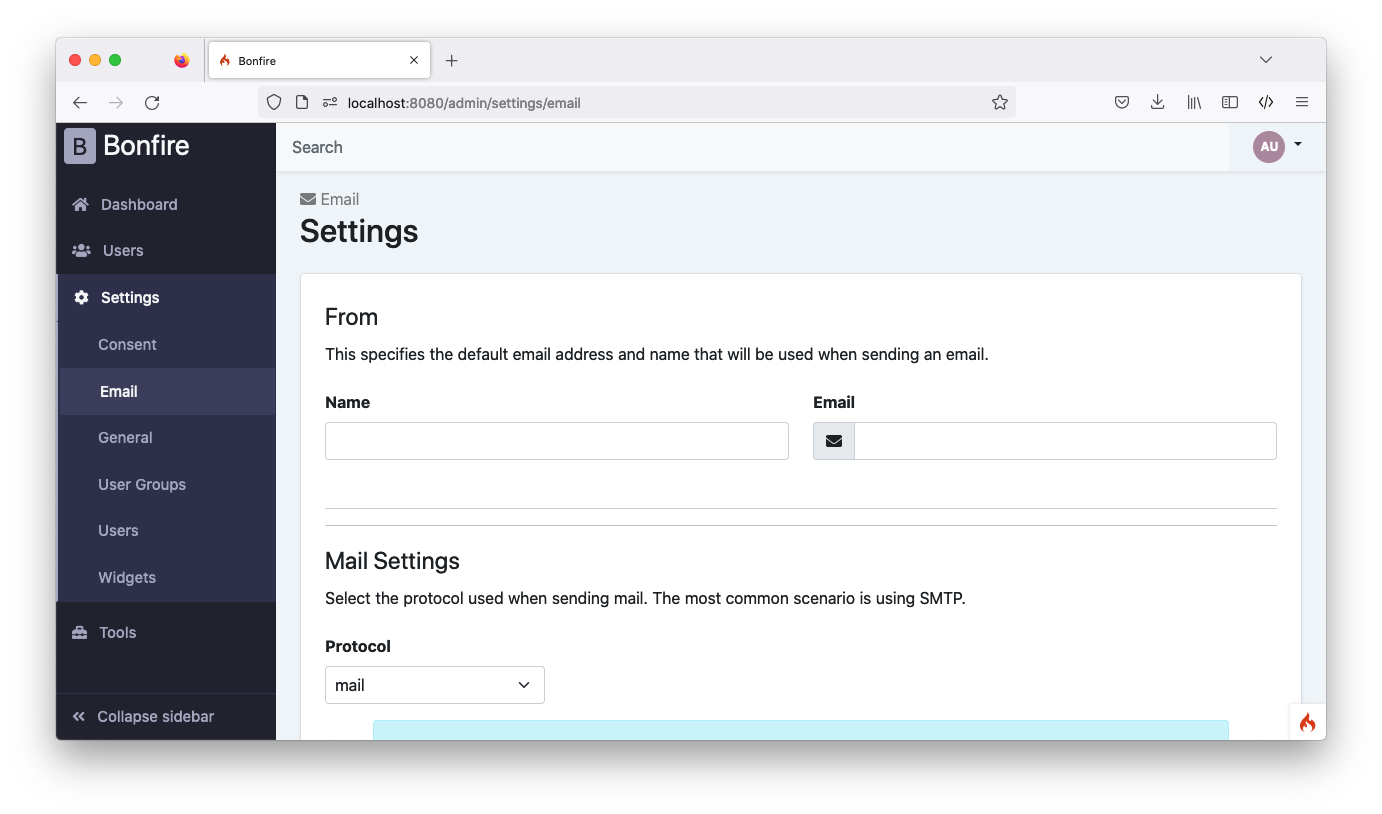
メールの設定。
一般設定。

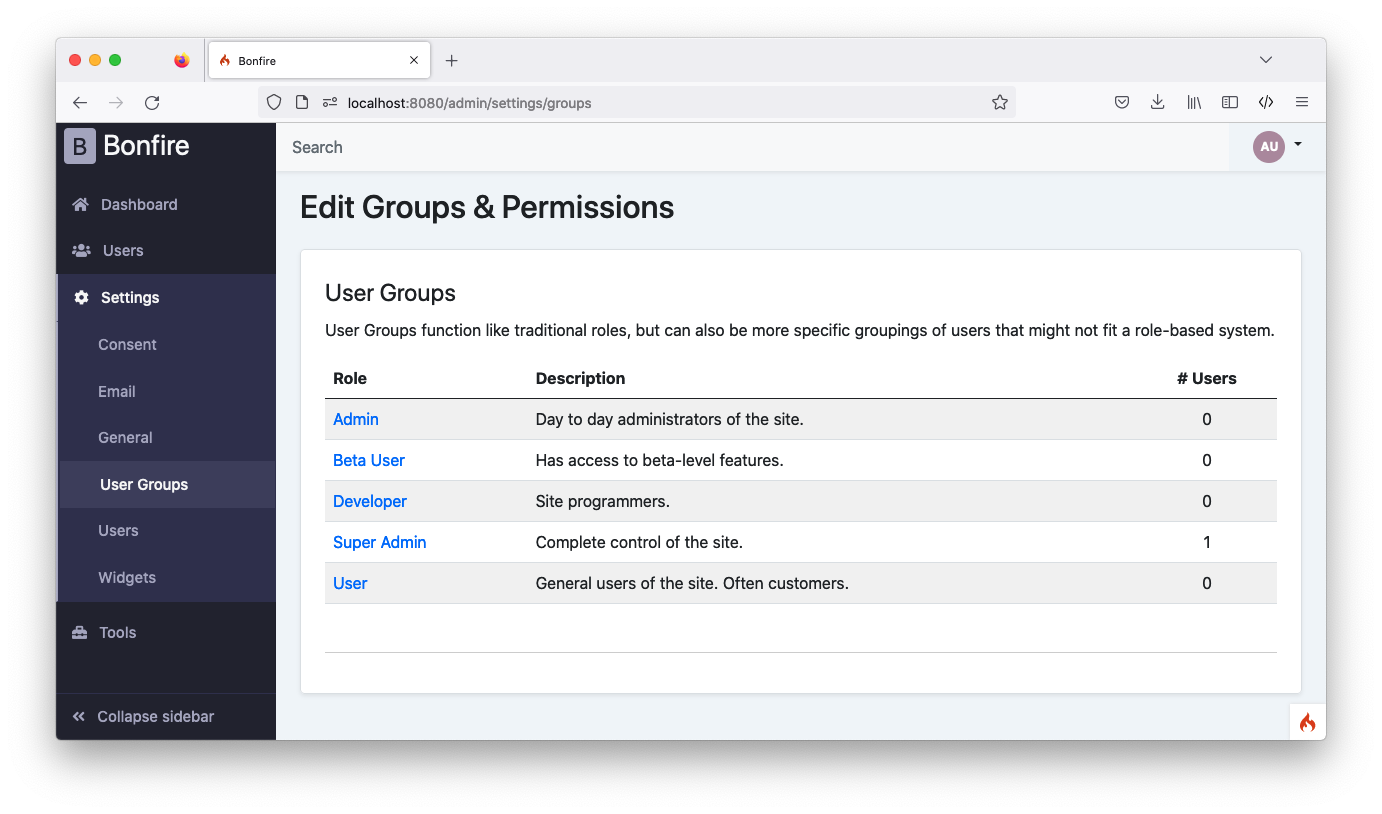
ユーザーグループ設定。
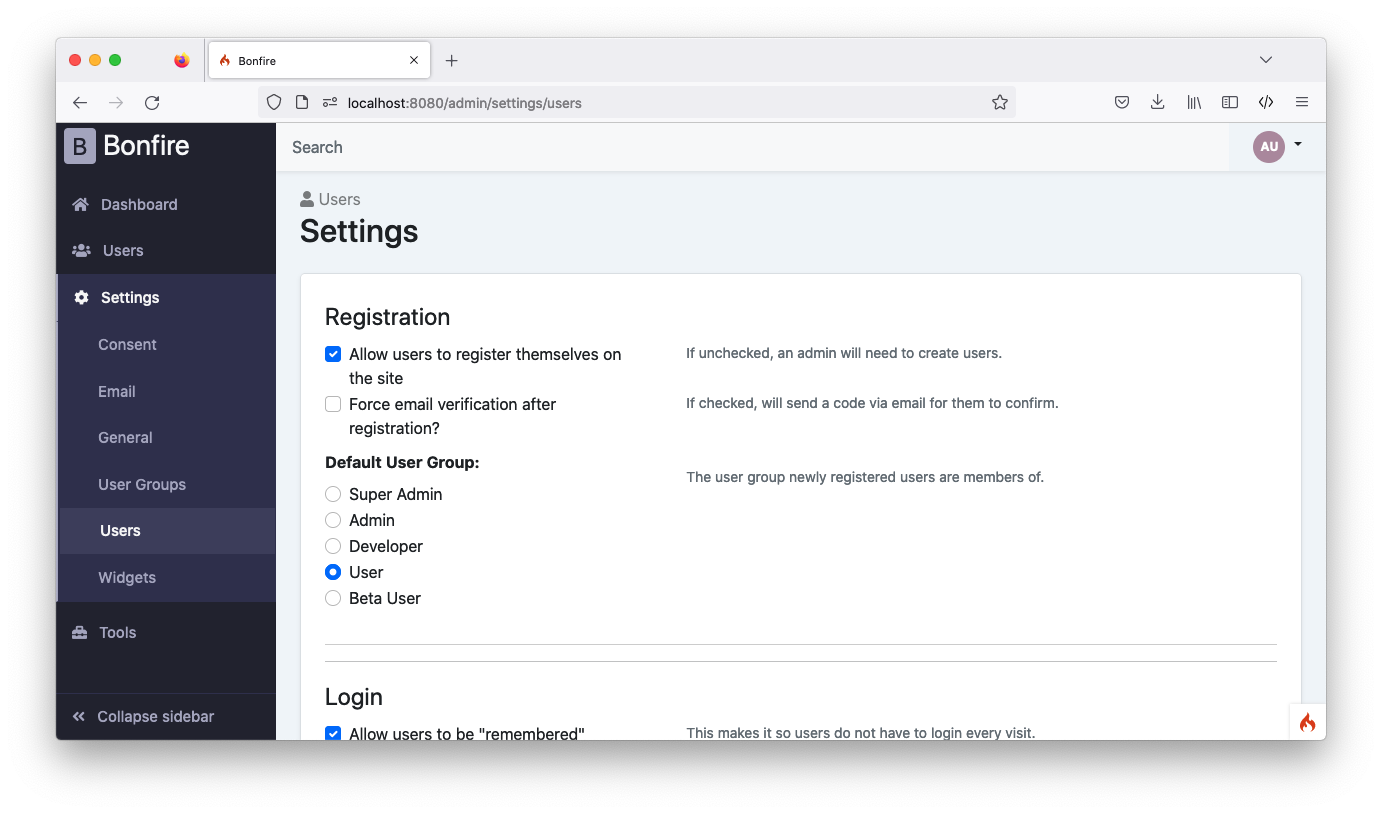
ユーザーに関する設定。
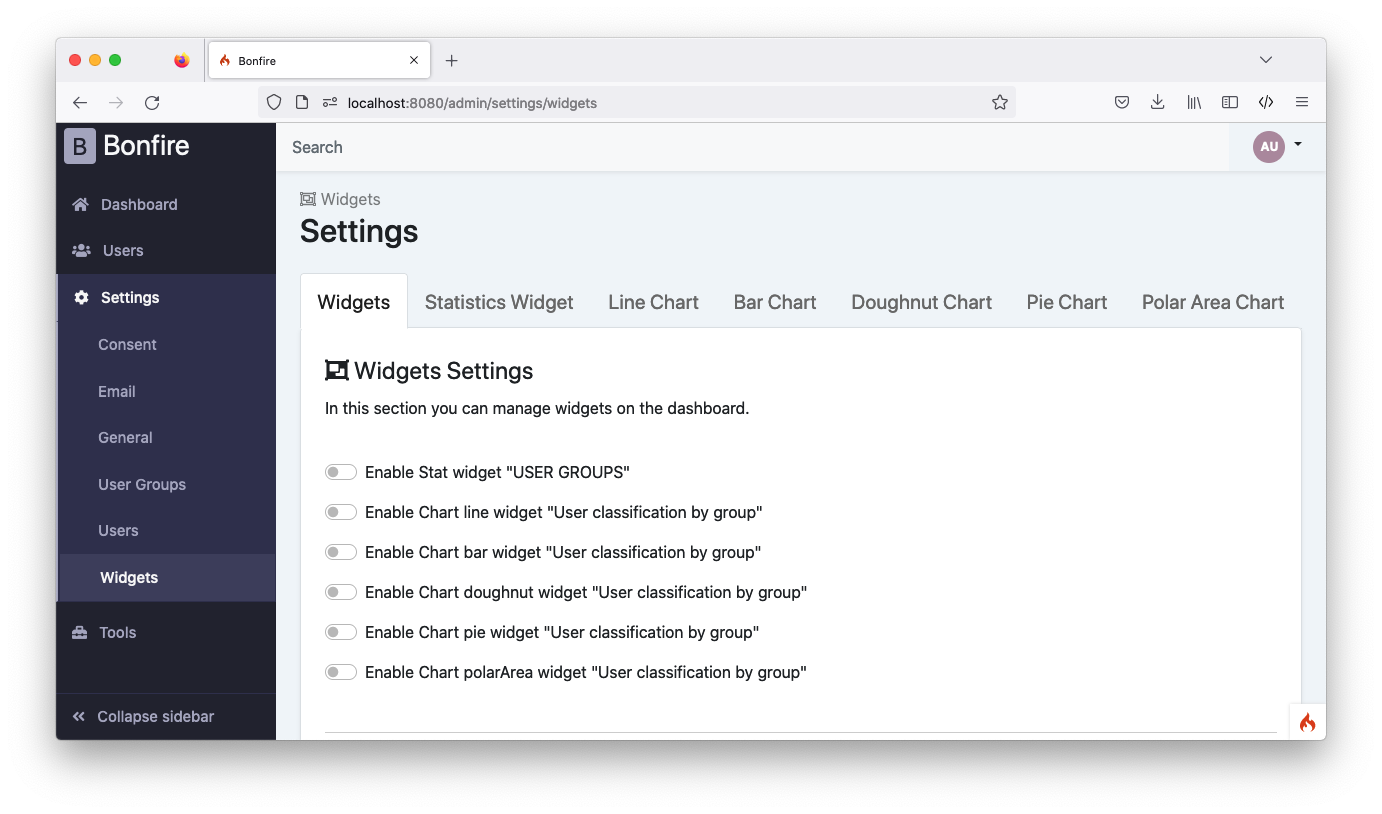
ウィジットの設定。
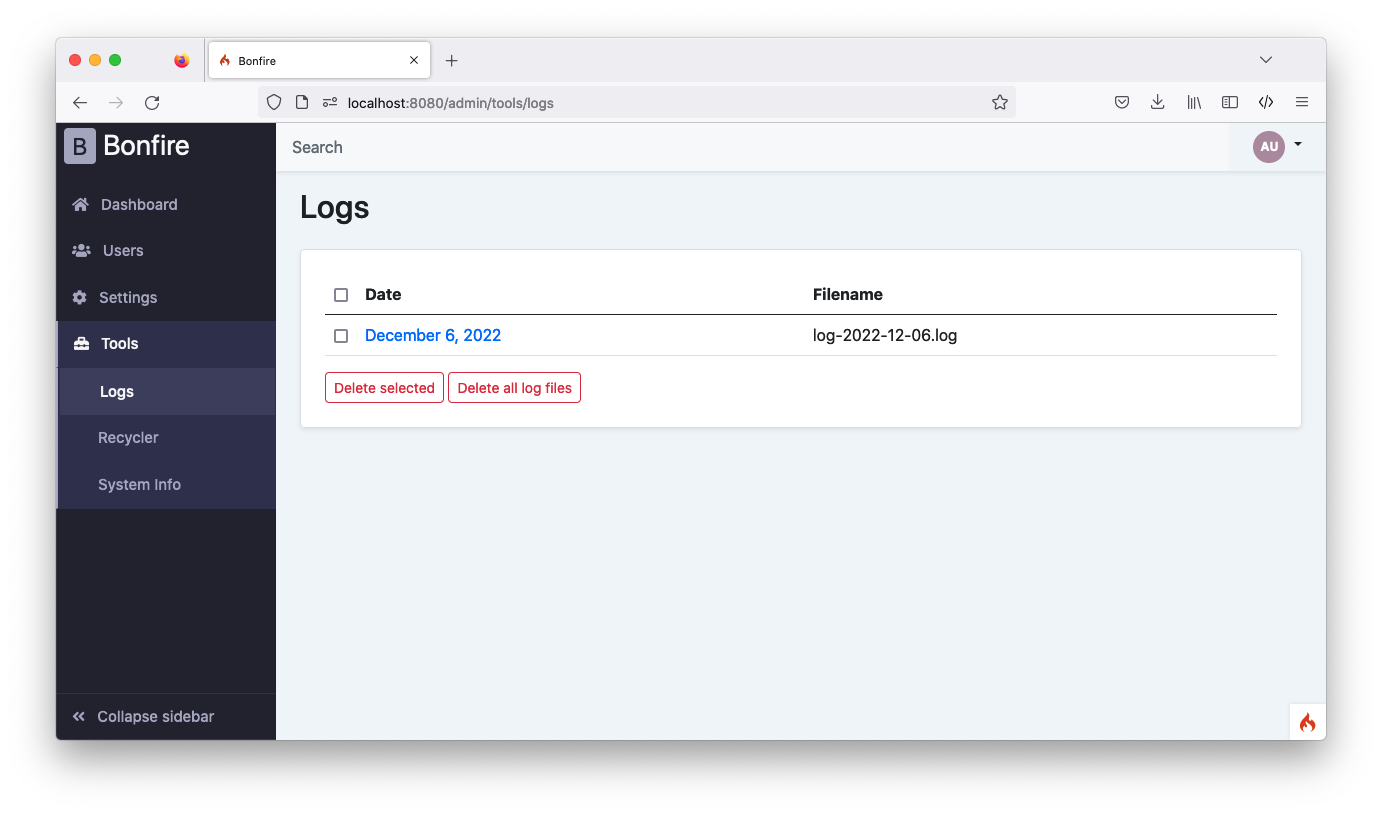
ログ閲覧ツール。
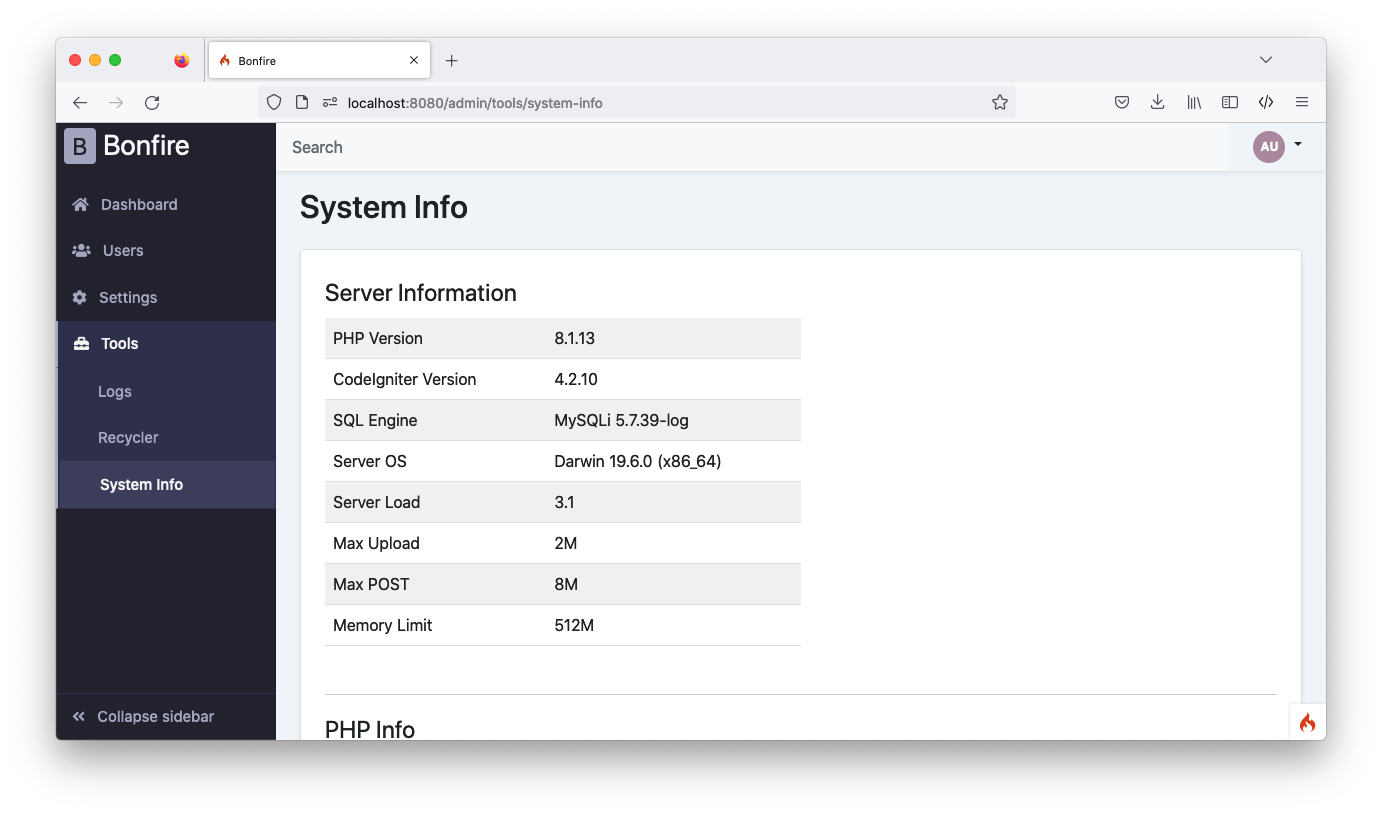
システム情報。
マイアカウント。
右上のアイコンから、ログアウトします。
ユーザー登録
http://localhost:8080/register にブラウザでアクセスします。
登録ページが表示されました。
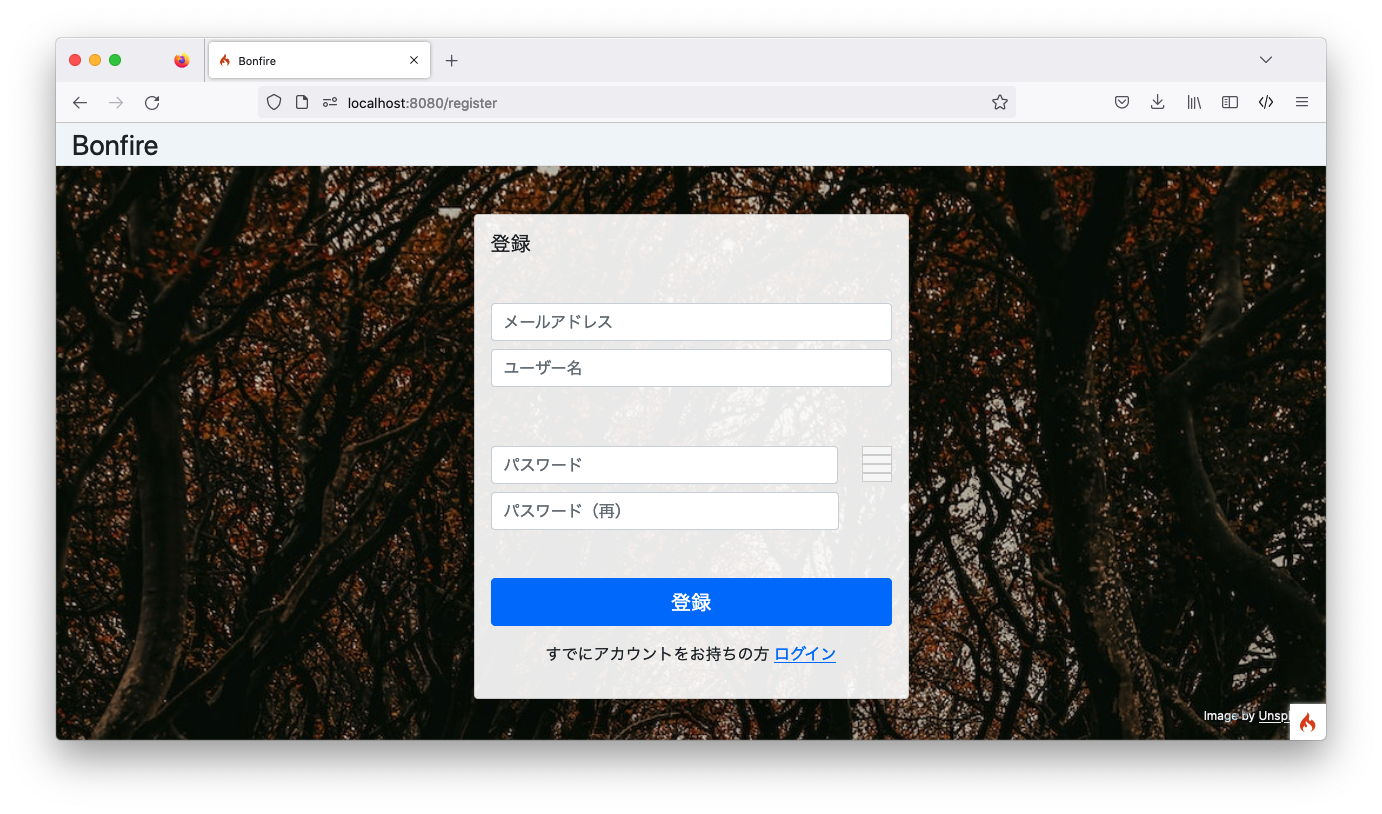
ユーザーを登録します。
完了すると、トップページにリダイレクトされました。
デバッグバーを表示すると、ユーザーとしてログインしていることがわかります。

まとめ
- Bonfire2はCodeIgniter4用のアプリケーションスケルトンです。
- Bonfire2を使うとWebアプリケーションを素早く開発することができます。
- Bonfire2はCodeIgniter Shieldを利用しており、ユーザー管理機能を含む管理ページを提供します。
この記事は CodeIgniter Advent Calendar 2022 - Qiita の8日目です。まだ、空きがありますので、興味のある方は気軽に参加してください。
関連
参考
Date: 2022/12/08
 環境構築編")
 入門編")
 実践編")
![徹底攻略PHP5技術者認定[上級]試験問題集 [PJ0-200]対応](http://tatsu-zine.com/images/books/164/cover_s.jpg "徹底攻略PHP5技術者認定[上級]試験問題集 [PJ0-200]対応")

