CodeIgniter4でChrome Loggerを使う
準備
Chrome Loggerのインストール
Chrome Logger - Server side application debugging をChromeにインストールします。
CodeIgniter4の設定
app/Config/Logger.php のコメントアウトされている ChromeLoggerHandler を有効にします。
--- a/app/Config/Logger.php
+++ b/app/Config/Logger.php
@@ -127,13 +127,13 @@ class Logger extends BaseConfig
          * The ChromeLoggerHandler requires the use of the Chrome web browser
          * and the ChromeLogger extension. Uncomment this block to use it.
          */
-        // 'CodeIgniter\Log\Handlers\ChromeLoggerHandler' => [
-        //     /*
-        //      * The log levels that this handler will handle.
-        //      */
-        //     'handles' => ['critical', 'alert', 'emergency', 'debug',
-        //                   'error', 'info', 'notice', 'warning'],
-        // ],
+         'CodeIgniter\Log\Handlers\ChromeLoggerHandler' => [
+             /*
+              * The log levels that this handler will handle.
+              */
+             'handles' => ['critical', 'alert', 'emergency', 'debug',
+                           'error', 'info', 'notice', 'warning'],
+         ],

         /*
          * The ErrorlogHandler writes the logs to PHP's native `error_log()` function.
サンプルコード
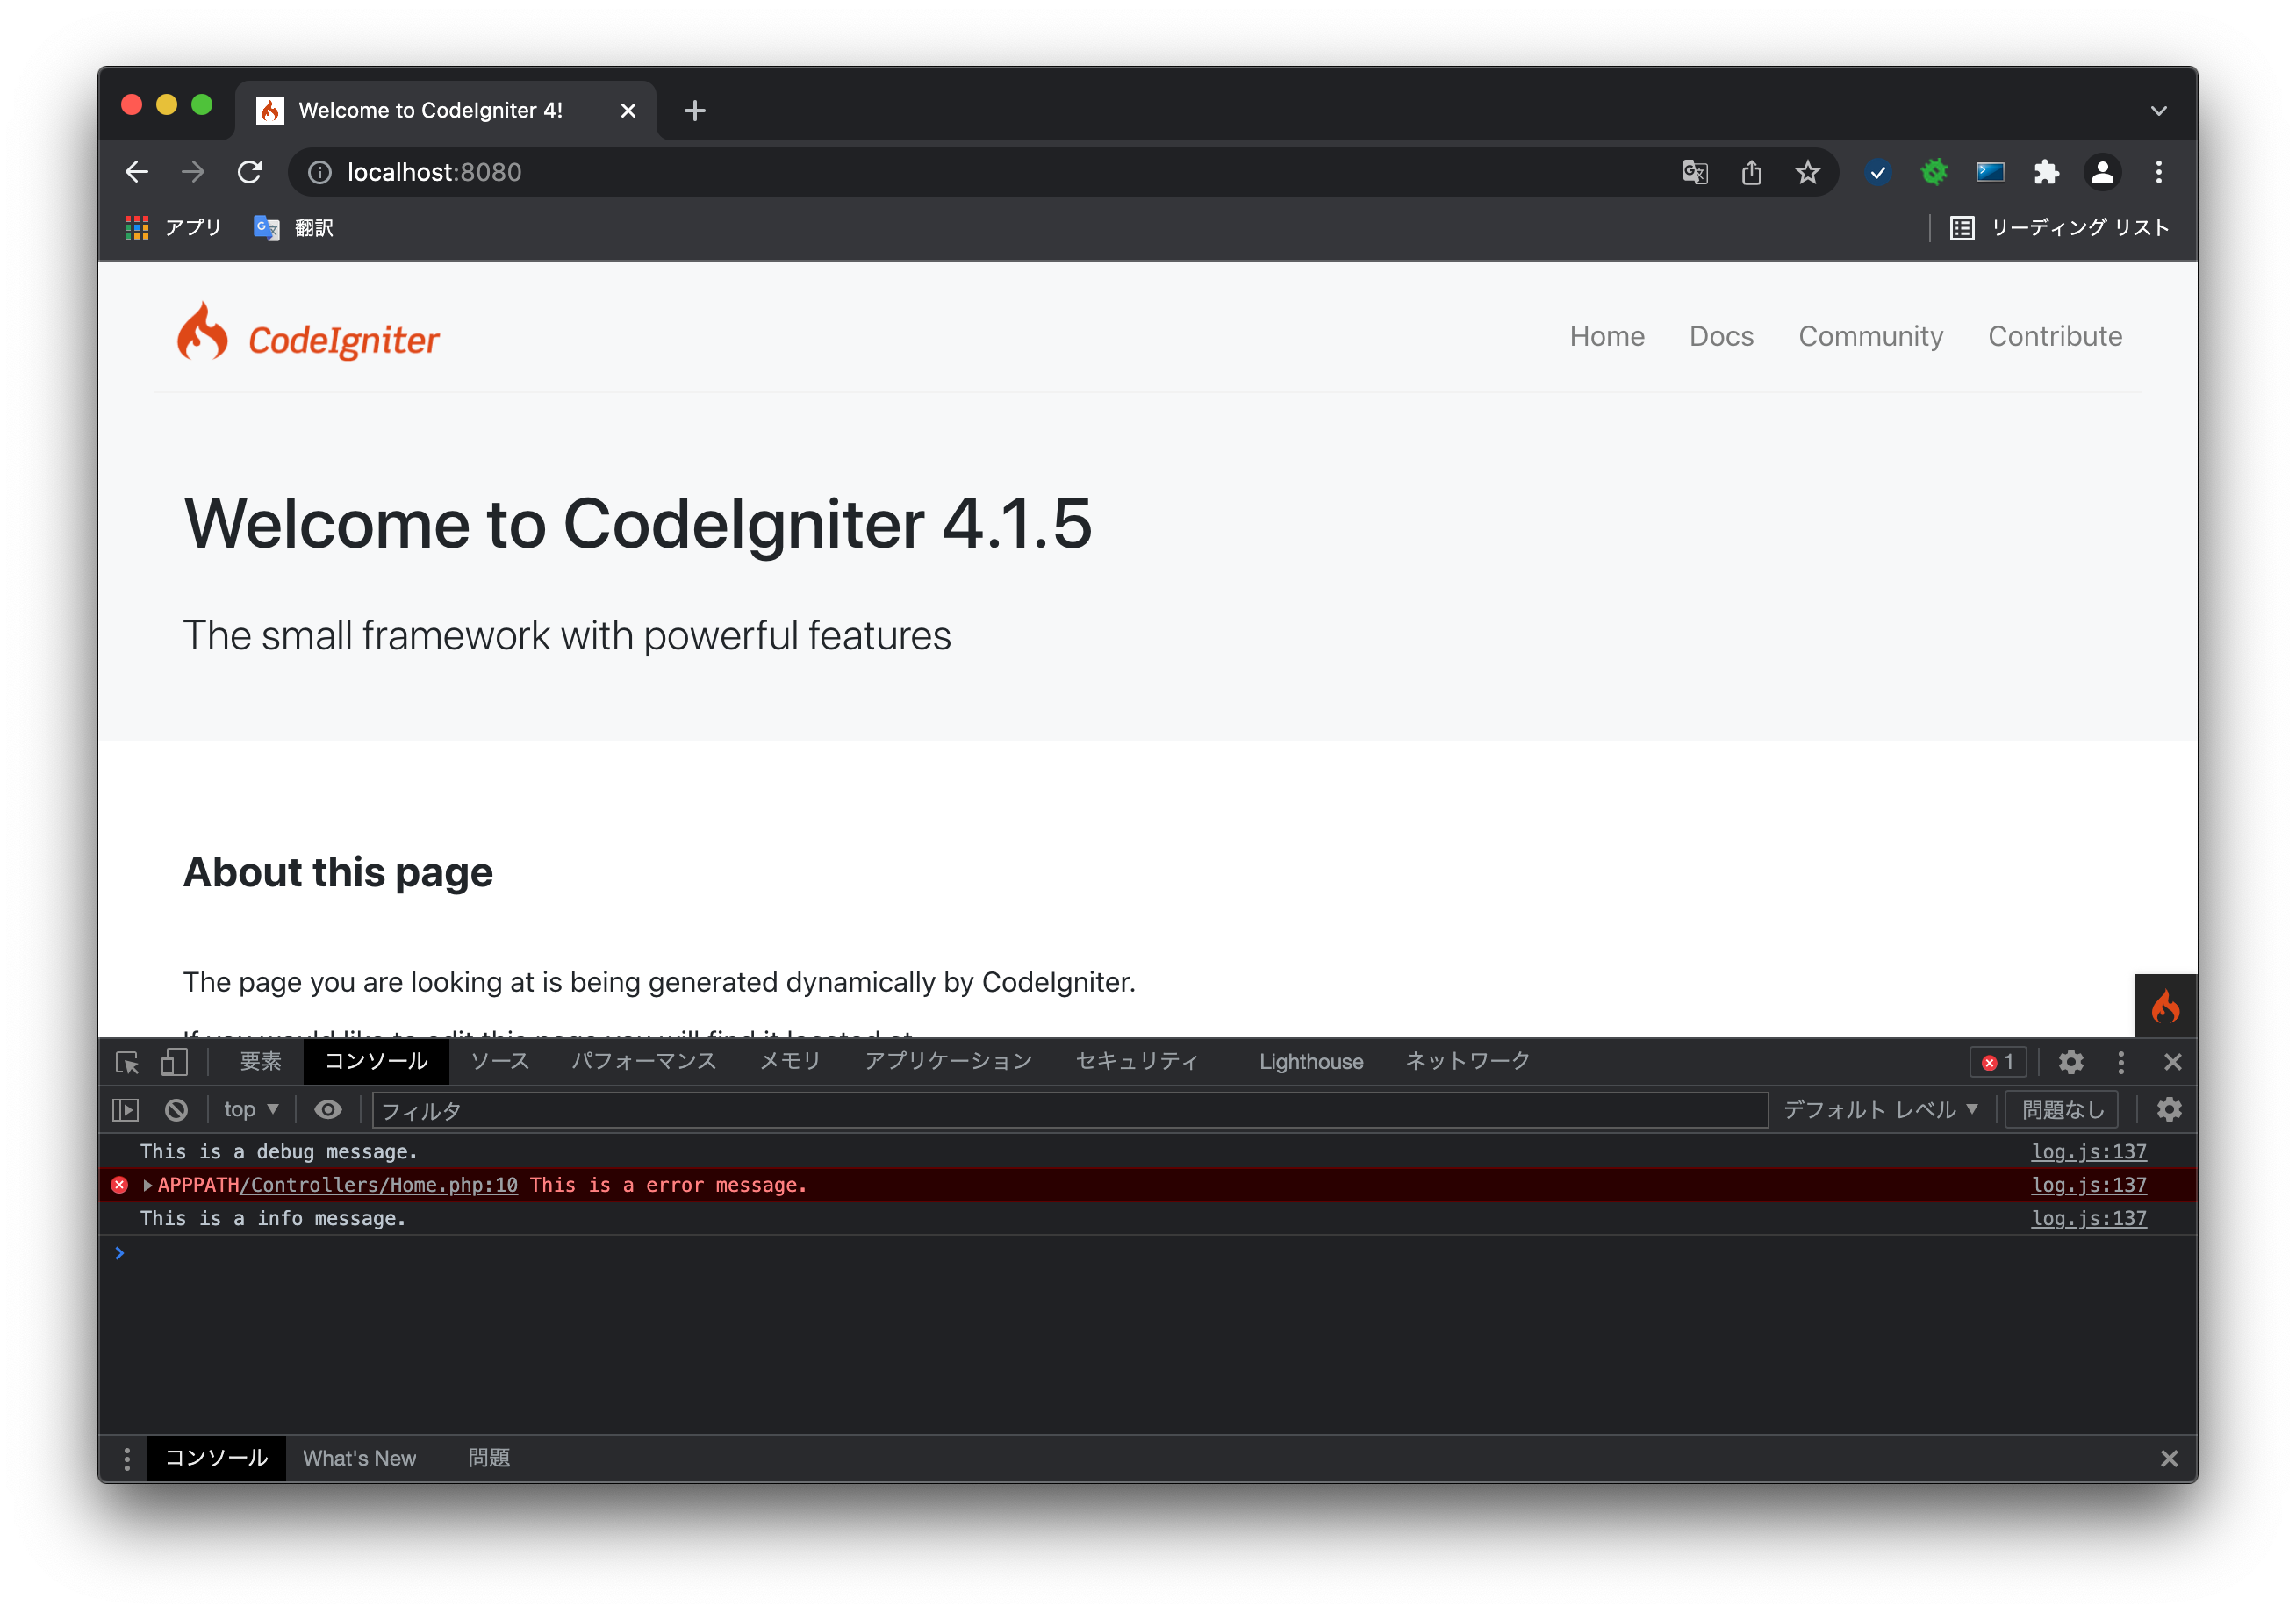
コントローラにログを出力するコードを追加します。
<?php

namespace App\Controllers;

class Home extends BaseController
{
    public function index()
    {
        $this->logger->log('debug', 'This is a debug message.');
        $this->logger->log('error', '{file}:{line} This is a error message.');
        $this->logger->log('info', 'This is a info message.');

        return view('welcome_message');
    }
}
Chrome Loggerの使い方
サイトを表示して、Chrome Loggerのアイコンをクリックして有効にします。

有効になりました。

これでChromeのコンソールにログが出力されます。
参考
Date: 2021/12/19


![徹底攻略PHP5技術者認定[上級]試験問題集 [PJ0-200]対応 徹底攻略PHP5技術者認定[上級]試験問題集 [PJ0-200]対応](http://tatsu-zine.com/images/books/164/cover_s.jpg)

