CodeIgniter 4.0.0-rc2.1 をインストールする
(2020-12-29 追記) この記事は古くなっています。
最新のインストール方法は、 CodeIgniter 4.0のインストール方法 を参照してください。
CodeIgniter 4 の正式リリースが近づいています。
CodeIgniter 4.0.0-rc2.1 がリリースされていますので、インストールしてみます。
要件
- PHP 7.2 以上、そして intl 機能拡張
- composer コマンド
インストール
さて、composer コマンドでインストールを実行します。
$ composer create-project codeigniter4/appstarter ci4-app -s rc
Installing codeigniter4/appstarter (v4.0.0-rc.2)
  - Installing codeigniter4/appstarter (v4.0.0-rc.2): Loading from cache
Created project in ci4-app
Loading composer repositories with package information
Updating dependencies (including require-dev)
Package operations: 33 installs, 0 updates, 0 removals
  - Installing zendframework/zend-escaper (2.6.1): Downloading (100%)
  - Installing psr/log (1.1.0): Downloading (100%)
  - Installing kint-php/kint (2.2): Downloading (100%)
  - Installing codeigniter4/framework (v4.0.0-rc.2.1): Downloading (connecting..Downloading (100%)
  - Installing mikey179/vfsstream (v1.6.7): Downloading (100%)
  - Installing sebastian/version (2.0.1): Loading from cache
  - Installing sebastian/resource-operations (2.0.1): Loading from cache
  - Installing sebastian/recursion-context (3.0.0): Loading from cache
  - Installing sebastian/object-reflector (1.1.1): Loading from cache
  - Installing sebastian/object-enumerator (3.0.3): Loading from cache
  - Installing sebastian/global-state (2.0.0): Loading from cache
  - Installing sebastian/exporter (3.1.2): Downloading (100%)
  - Installing sebastian/environment (4.2.2): Loading from cache
  - Installing sebastian/diff (3.0.2): Loading from cache
  - Installing sebastian/comparator (3.0.2): Loading from cache
  - Installing phpunit/php-timer (2.1.2): Loading from cache
  - Installing phpunit/php-text-template (1.2.1): Loading from cache
  - Installing phpunit/php-file-iterator (2.0.2): Loading from cache
  - Installing theseer/tokenizer (1.1.3): Loading from cache
  - Installing sebastian/code-unit-reverse-lookup (1.0.1): Loading from cache
  - Installing phpunit/php-token-stream (3.1.1): Downloading (100%)
  - Installing phpunit/php-code-coverage (6.1.4): Loading from cache
  - Installing doctrine/instantiator (1.2.0): Loading from cache
  - Installing symfony/polyfill-ctype (v1.12.0): Downloading (100%)
  - Installing webmozart/assert (1.5.0): Downloading (100%)
  - Installing phpdocumentor/reflection-common (2.0.0): Downloading (connecting.Downloading (100%)
  - Installing phpdocumentor/type-resolver (1.0.1): Downloading (100%)
  - Installing phpdocumentor/reflection-docblock (4.3.2): Downloading (connectinDownloading (100%)
  - Installing phpspec/prophecy (1.9.0): Downloading (100%)
  - Installing phar-io/version (2.0.1): Loading from cache
  - Installing phar-io/manifest (1.0.3): Loading from cache
  - Installing myclabs/deep-copy (1.9.3): Downloading (100%)
  - Installing phpunit/phpunit (7.5.16): Downloading (100%)
sebastian/global-state suggests installing ext-uopz (*)
phpunit/php-code-coverage suggests installing ext-xdebug (^2.6.0)
phpunit/phpunit suggests installing phpunit/php-invoker (^2.0)
phpunit/phpunit suggests installing ext-soap (*)
phpunit/phpunit suggests installing ext-xdebug (*)
Writing lock file
Generating autoload files
Generating autoload files
はい、できました。簡単ですね。
環境の設定
デフォルトでは本番環境(production)となっている環境を、開発環境(development)に変更します。
プロジェクトのルートにある env ファイルを .env としてコピーし、CI_ENVIRONMENT を development に変更します。
--- env 2019-09-27 14:09:24.000000000 +0900
+++ .env    2019-10-12 20:15:36.269146079 +0900
@@ -14,7 +14,7 @@
 # ENVIRONMENT
 #--------------------------------------------------------------------

-# CI_ENVIRONMENT = production
+CI_ENVIRONMENT = development

 #--------------------------------------------------------------------
 # APP
ビルトインサーバの起動
開発用のビルトインサーバを起動してみましょう。
$ cd ci4-app
$ php spark serve
CodeIgniter CLI Tool - Version 4.0.0-rc.2 - Server-Time: 2019-10-12 05:57:38am

CodeIgniter development server started on http://localhost:8080
Press Control-C to stop.
サーバが起動しました。
Welcome ページの表示
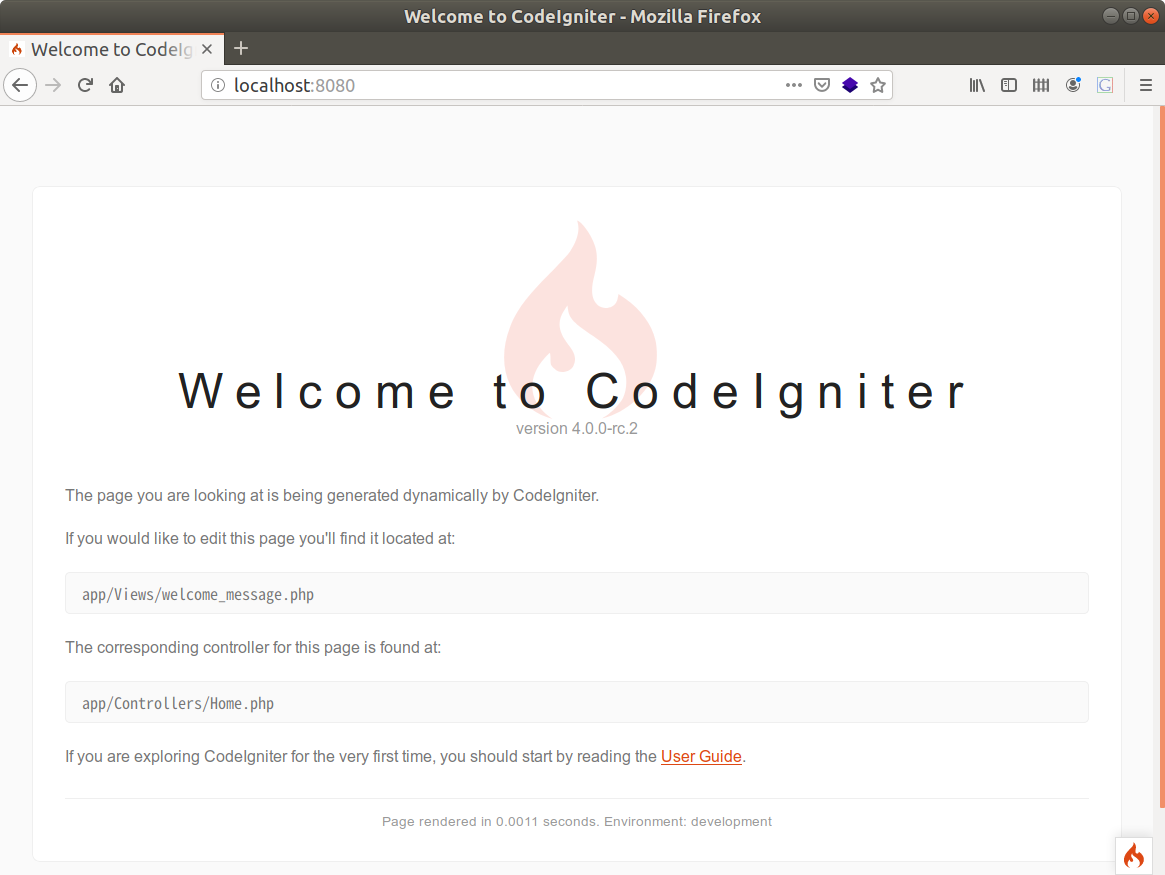
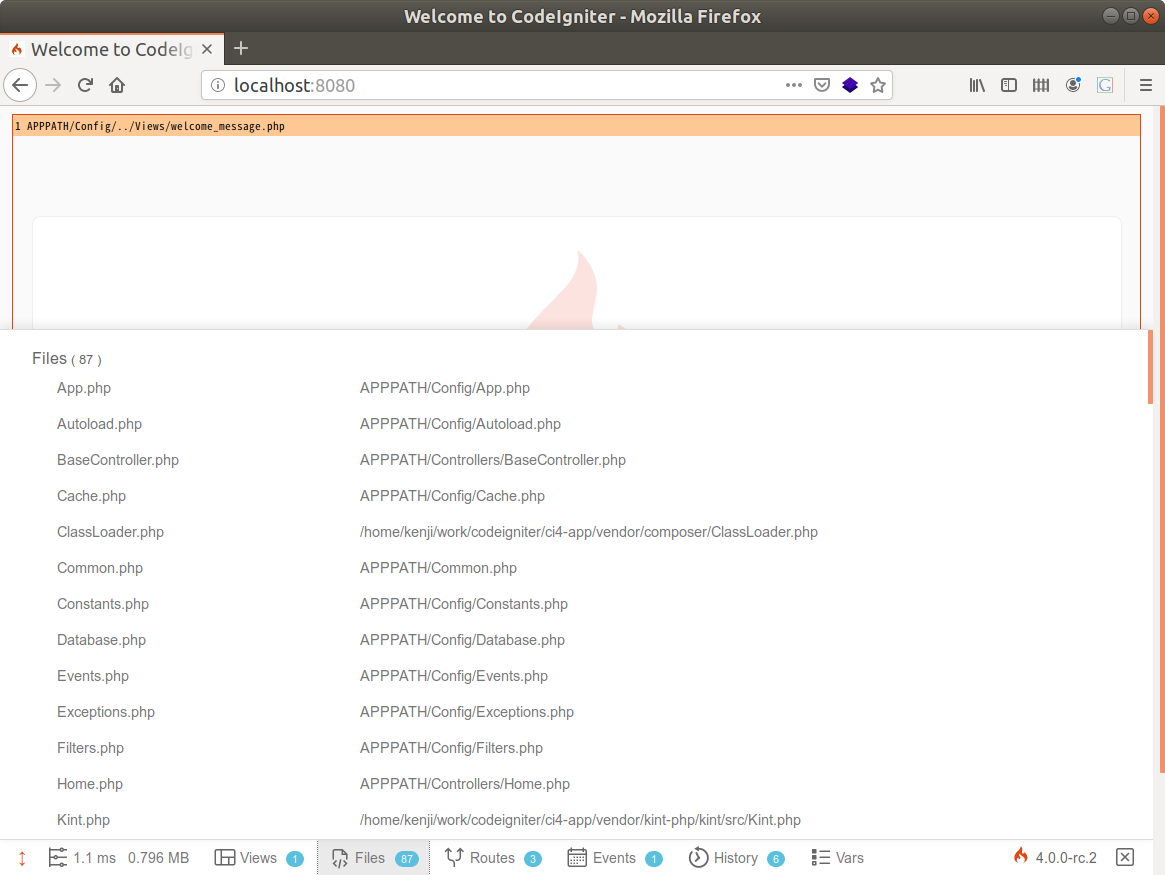
ブラウザで http://localhost:8080/ にアクセスしてみましょう。
Welcome ページが表示されました!
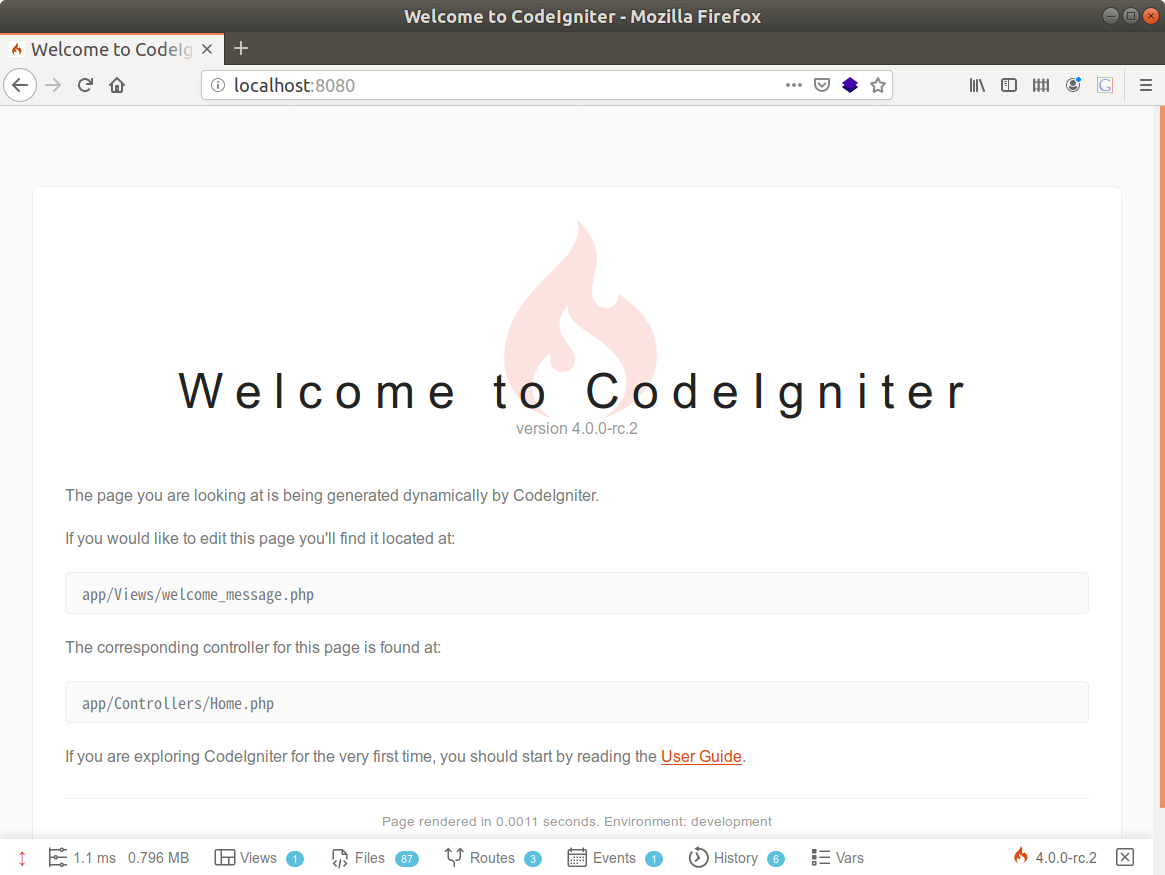
右下の CodeIgniter のアイコンを押して、デバッグツールバーの情報を見てみましょう。
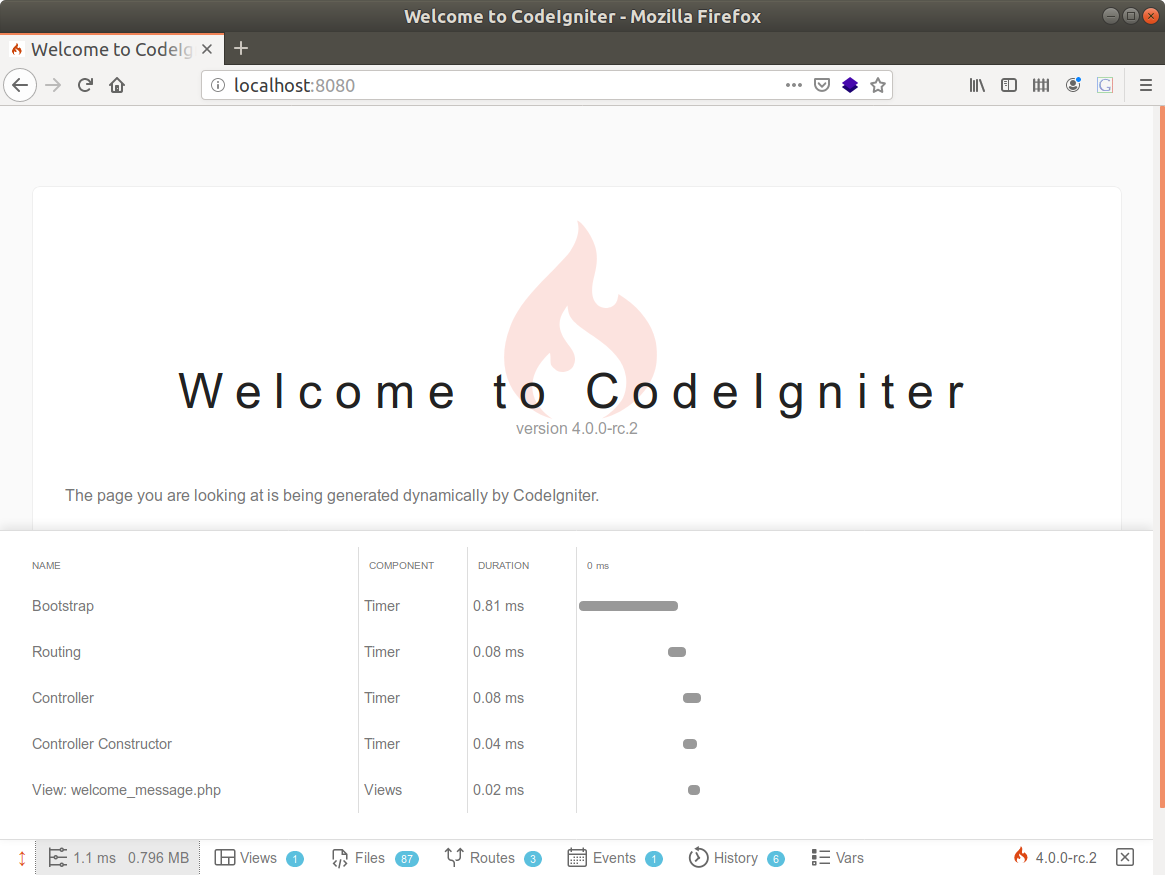
処理時間の確認。
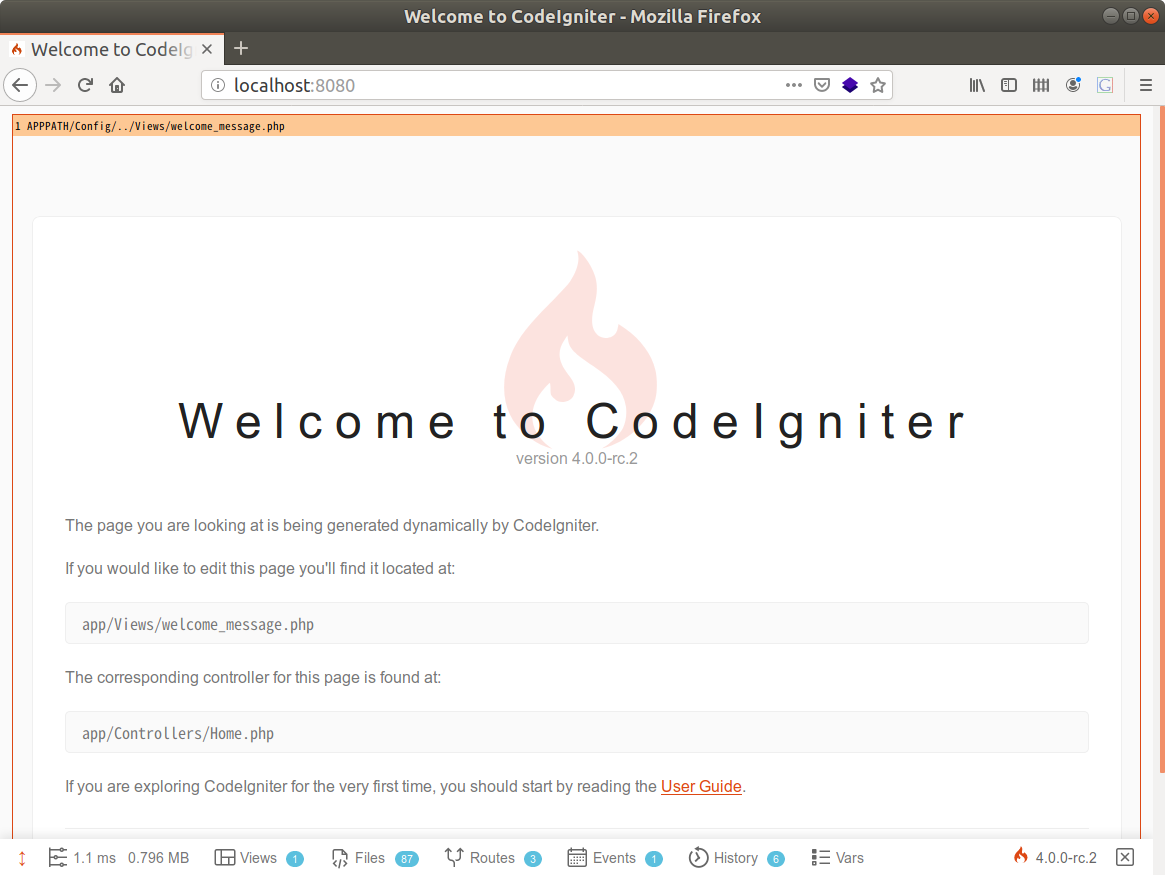
Views を押すと、ビューファイルがわかります。
ロードされたファイル。
ルーティング情報。

変数の情報。

システム構成。

まとめ
- CodeIgniter4 は composer コマンドからすぐにインストールできます。
- CodeIgniter4 は rc2 まで進んでおり、正式リリース目前です。
- CodeIgniter4 は軽量です。
--no-devでインストールするとvendorフォルダは 5.6MB です。
参考
- CodeIgniter4 公式ドキュメント https://codeigniter4.github.io/userguide/
Date: 2019/10/12
 環境構築編")
 入門編")
 実践編")
![徹底攻略PHP5技術者認定[上級]試験問題集 [PJ0-200]対応](http://tatsu-zine.com/images/books/164/cover_s.jpg "徹底攻略PHP5技術者認定[上級]試験問題集 [PJ0-200]対応")

